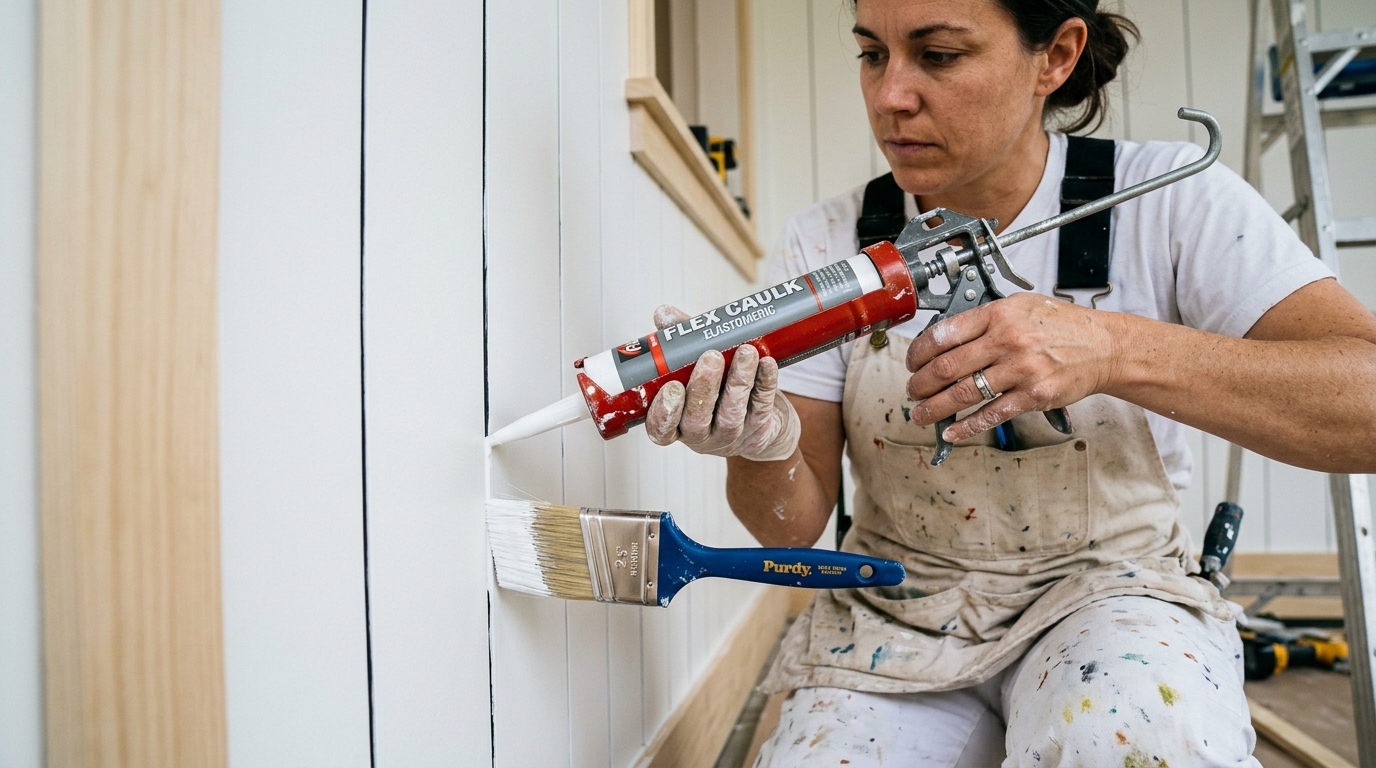
You have spent hours measuring, cutting, leveling, and nailing your shiplap accent wall to perfection. Now comes the finishing stage: caulking, hole-filling, priming, and painting.
Done correctly, a professional paint finish elevates your shiplap into an architectural centerpiece with crisp, razor-sharp shadow lines and a silky-smooth surface. However, a single common mistake—such as caulking the horizontal reveal seams or using the wrong paint sheen—can ruin the entire installation, causing paint to bridge the gaps, bubble, and crack into an unsightly spiderweb mess within months.
In this master finishing guide, licensed carpenter Thomas Clark reveals the trade secrets used by high-end millwork painters to achieve a flawless, crack-free shiplap finish.
The #1 Cardinal Rule: NEVER Caulk Horizontal Seams
If there is only one rule you remember from this guide, make it this one:
┌────────────────────────────────────────────────────────┐
│ ❌ NEVER CAULK: Horizontal shadow gaps between boards  │
│    Reason: Wood moves with humidity; caulk will crack, │
│    bridge awkwardly, and destroy the architectural gap.│
├────────────────────────────────────────────────────────┤
│ ✔️ ALWAYS CAULK: Inside corners, ceiling perimeters,   │
│    baseboard transitions, and vertical casing joints.  │
│    Reason: Seals air leaks and conceals drywall runout.│
└────────────────────────────────────────────────────────┘
Why Caulking Horizontal Shiplap Gaps Is Fatal:
- Natural Wood Movement: Wood expands across its grain during humid summer months and contracts in dry winter heating seasons. If you fill the horizontal rabbet joint with caulk, the wood’s expansion forces the caulk outward in an ugly rubbery bulge. When winter arrives, the caulk tears down the middle, creating jagged, peeling cracks.
- Loss of Shadowline Depth: The entire visual appeal of shiplap is the sharp shadow line cast by the rabbet or nickel gap. Filling that groove with caulk eliminates the shadow and makes the wall look like low-quality grooved plywood paneling.
Paint Sheen Selection Master Guide
Choosing the right paint sheen determines how light reflects across the boards and how easy the wall is to wipe down:
| Paint Sheen | Gloss Level | Cleanability | Best Rooms / Applications | Pro Recommendation |
|---|---|---|---|---|
| Flat / Matte | 0% – 5% | Low (Hard to clean) | Low-traffic guest bedrooms, ceilings | ⚠️ Avoid on high-touch walls |
| Eggshell | 10% – 25% | Moderate | Living rooms, master bedrooms, dining rooms | ✔️ Top Choice for Living Rooms |
| Satin | 25% – 35% | High | Hallways, entryways, kids’ rooms, bathrooms | ⭐ #1 Overall Best for Shiplap |
| Semi-Gloss | 35% – 55% | Very High | Mudrooms, laundry rooms, kitchen backsplashes | ✔️ Best for moisture & scrubbability |
Why Satin Is the #1 Finisher’s Choice:
Satin strikes the perfect balance for architectural wood paneling:
- It provides a soft, velvety luster that catches light gracefully across the board edges.
- It resists scuffs and wipes clean with a damp cloth without leaving burnish marks.
- Unlike high-gloss paints, satin does not highlight minor drywall imperfections or slight lumber grain textures.
🎨 Explore Interactive Color & Sheen Tools: Check out our interactive Painting & Finishing Guide.
Step-by-Step Professional Painting Workflow
Step 1: Pre-Paint Tongues & Rabbet Lips (Before Hanging)
If using raw, unprimed wood:
- Lay your boards on sawhorses and brush a coat of primer and topcoat paint along the protruding tongue and inside rabbet lip before nailing them to the wall.
- Why? When the boards contract slightly in winter, pre-painted tongues ensure you see crisp paint inside the gap rather than raw, unpainted pine stripes!
Step 2: Fill and Flush-Sand Nail Holes
- Use lightweight interior spackle or a high-grade wood filler (such as DAP Alex Plus or Minwax Wood Filler).
- Overfill each nail depression slightly with your thumb or a putty knife (spackle shrinks as it dries).
- Allow to dry for 30–45 minutes.
- Sand flush with 220-grit fine sandpaper wrapped around a flat rubber sanding block. Run your fingers over the nail hole—if you can feel a ridge, sand it smoother.
Step 3: Caulk the Perimeter Boundaries
- Load a high-flexibility elastomeric acrylic latex caulk (such as DAP DynaGrip or Big Stretch) into your caulk gun.
- Cut the caulk nozzle at a 45-degree angle to create a small ⅛-inch opening.
- Run a continuous, neat bead along the inside vertical wall corners, top ceiling junction, and bottom baseboard seam.
- Immediately smooth the bead with a damp sponge or finger dipped in water to create a seamless, concave transition.
Step 4: Clean the Reveal Seams (The “Putty Knife Trick”)
Before rolling paint:
- Take a stiff 1½-inch putty knife or a piece of thin cardboard folded over and run it through every horizontal shiplap seam to dislodge any sawdust, spackle crumbs, or debris caught in the grooves.
Step 5: Roll & Back-Brush the Finish Paint
- Use a ⅜-inch nap high-density microfiber roller sleeve for a smooth, orange-peel-free finish.
- Roll horizontally in 4-foot sections following the direction of the boards.
- The Back-Brush Secret: Keep a dry 2-inch angled sash brush in your back pocket. As you roll over horizontal seams, paint will naturally pool in the grooves. Immediately run your dry brush lightly along the seam to wick away excess pooled paint before it dries into thick drips.
- Apply two uniform coats, allowing 2 to 4 hours of drying time between coats.
Popular Shiplap Paint Colors & Formulas
┌────────────────────────────────────────────────────────┐
│ CLASSIC BRIGHT WHITES (Timeless & Airy)               │
│ • Sherwin-Williams Pure White (SW 7005) - Warm Neutral │
│ • Benjamin Moore Chantilly Lace (OC-65) - Crisp & Pure │
├────────────────────────────────────────────────────────┤
│ WARM MODERN GREIGES (Cozy & Transitional)              │
│ • Benjamin Moore Pale Oak (OC-20) - Elegant Soft Gray  │
│ • Sherwin-Williams Alabaster (SW 7008) - Creamy Warmth │
├────────────────────────────────────────────────────────┤
│ MOODY ACCENT SHADES (Dramatic Feature Walls)           │
│ • Sherwin-Williams Iron Ore (SW 7069) - Charcoal Slate │
│ • Benjamin Moore Hale Navy (HC-154) - Rich Classic Navy│
└────────────────────────────────────────────────────────┘
Frequently Asked Questions (FAQ)
1. Can I use a paint sprayer instead of rolling shiplap?
Yes, using an airless paint sprayer (such as a Graco TrueCoat or Magnum X5) produces a glass-smooth factory finish. However, you must mask and plastic-tape all surrounding walls, ceilings, and floors thoroughly to prevent overspray. Always apply light, multiple coats so paint does not run into the horizontal reveal gaps.
2. What is the best caulk for shiplap perimeters?
Use an elastomeric acrylic latex caulk (such as Sashco Big Stretch or DAP Extreme Stretch). Elastomeric caulks can stretch up to 500% of their original joint size without tearing or pulling away from the drywall when the building frame settles.
3. How do I fix paint that bridged or dried shut in a shiplap gap?
Take a sharp utility knife with a fresh razor blade and carefully slice along the groove line while the paint is fresh. Alternatively, gently drag a 5-in-1 painter’s tool through the gap to reopen the crisp shadow line, then touch up the edge with a small artist’s brush.
4. Do I need to prime pre-primed shiplap?
Factory pre-primed MDF or finger-jointed pine already has a base primer applied. However, applying one coat of a quality stain-blocking latex primer ensures uniform color depth and prevents filler spots from flashing (showing as dull spots through the topcoat).
5. Should shiplap paint match the trim or the wall color?
For a traditional look, paint shiplap the same color and sheen as your window trim and baseboards (typically white satin). For a contemporary or moody aesthetic, paint the shiplap, baseboards, and adjoining drywall in a single monochromatic color (color drenching technique) for a dramatic, unified feel.